Most Telecom Companies deny SIM Registration for diverse reasons, and the only medium for users to know about them is checking their SIM Registration Statuses. However, this article will solely focus on the SIM Registration Check Code.

For your information, SIM Registration Check Code refers to the USSD Code that each Mobile Operating Company uses to facilitate users without internet services. Of course, USSD Codes are simple and mostly work without charges.
However, each Mobile Network Provider in the Philippines has their own USSD Code; therefore, users must dial the Code of their respective Operator for checking SIM Registration Status. Notably, this blog will share the list of USD Codes of all major networks.
Why SIM Registration Check is Mandatory
The verification of SIM registration is not a banal procedure, but in most countries, including the Philippines, it is one that is defined by the law. Indeed, getting your SIM registered is a way of ensuring that you are not breaking the law.

Accomplish with Law
Correct SIM registration means that you are not breaching the law. Mobile numbers are no longer allowed to be abused by governments. Checking your registration gives you a chance to steer clear of legal issues and make your number officially known.

Access to Better Services
Registered SIMs enable the user to experience a full service of the mobile services. Verified numbers can provide some of the advanced features and offers. Registering your SIM means updating your SIM so that you can get improved network services and perks.

Prevents Fraud & Scams
An unregistered/poorly ticked SIM could be used to commit fraud. User authentication guarantees the safety aspect of identity theft, spam, and financial fraud against you. This is the easiest measure to curb numerous mobile crimes.

Improves Security
Registered SIMs enhance the overall mobile security of the users. Service providers can monitor suspicious activity and stop unwarranted usage. Registering your SIM will minimize the chance of being hacked and help to guarantee better security of your personal information.

Customer Support
Mobile operators will be able to offer improved customer services to registered numbers. Verified users are served with an improved, fast resolution of any network problem, a balance mistake, simply dropped SIMs, etc.
USSD Codes To Check SIM Registration Status
As mentioned earlier, all major Telecom Companies across the Philippines operate unique USSD Codes for different purposes, including checking the SIM Registration Status. Meanwhile, the following section will discuss USSD Codes of all networks separately.
USSD Code For Globe & TM SIM Registration
Globe and Touch Mobile are the leading Mobile service providers across the Philippines. Of course, users of both networks can access account menus and other relevant services by dialing their official *143# USSD Code.
USSD Code For Smart, TNT & Sun SIM Registration
Smart and TNT belong to the same Telecom Brand in the Philippines, while Sun Network has recently added to its fleet. Interestingly, users can dial *123#, which is the USSD Code for all three Network Providers to check SIM Registration Statuses.
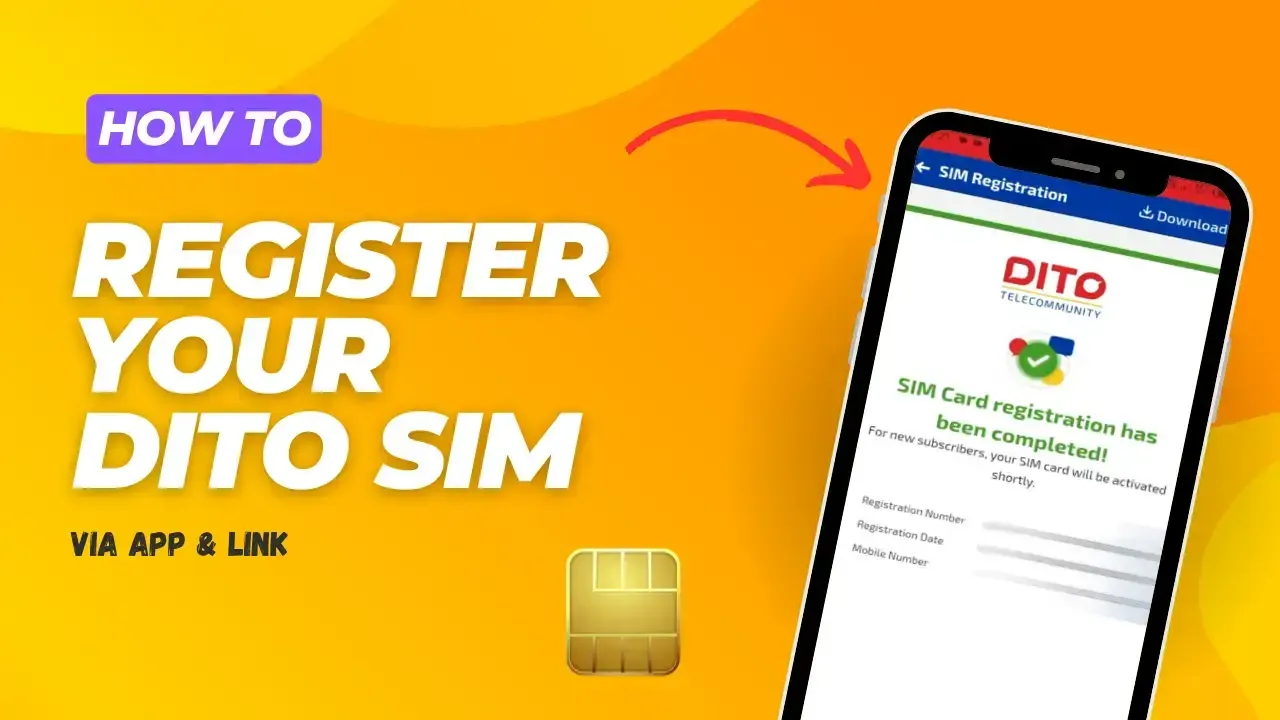
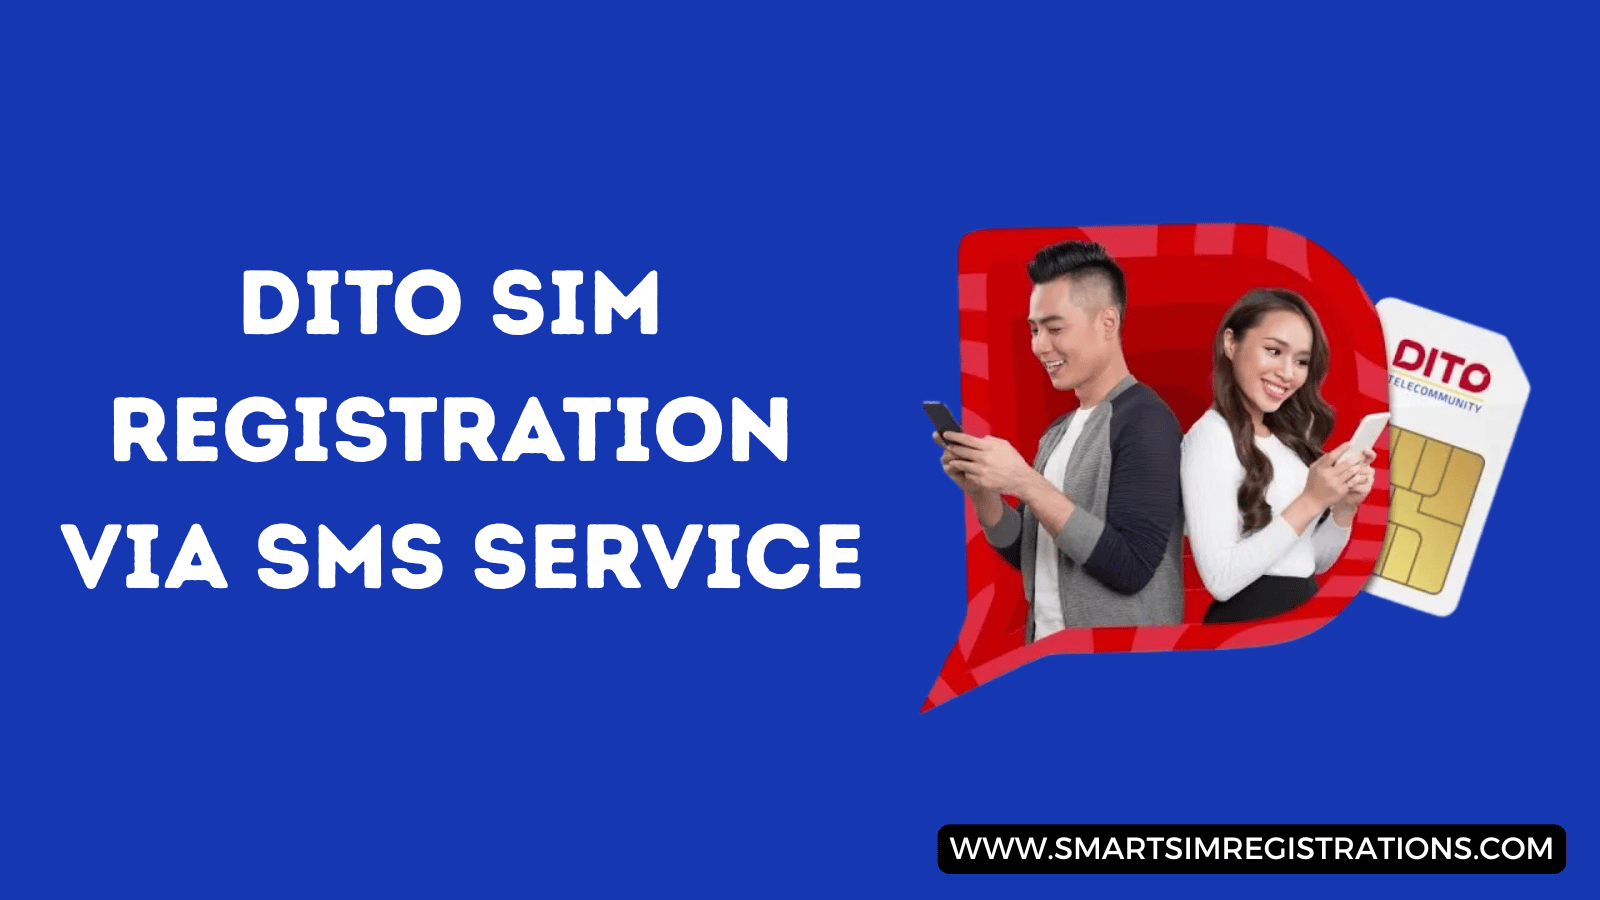
USSD Code For DITO SIM Registration
DITO is among the popular Mobile Network Services in the Philippines. Although DITO offers USSD Codes for several services checks, including Balance and Bundle Subscriptions, the company has no specific code for SIM Registration Status Check.
USSD Code For GOMO SIM Registration
GOMO has started its highly refined Mobile Network Services in the Philippines a few years ago, but it currently ranks among the top five telecom brands in this country. Sadly, GOMO is a digital-first network that allows access to its services only through the Mobile App.
USSD Code For Cherry Prepaid SIM Registration
Cherry Prepaid is an emerging Network Service Provider in the Philippines. Interestingly, Cherry operates various USSD Codes to check balance and activations, whereas *139# is the company’s specific code to check SIM Registration status.

Reasons to Prefer SIM Registration Check Code
One of the easiest methods to check your mobile number is with the help of a SIM registration check code. It offers a simple and easy approach that does not require the involvement of a really tricky procedure.
Quick Verification

You can check your number instantly with their SIM registration check code. Unlike long processes, it provides you with instant confirmation of the state of your SIM. This fast check saves time and makes sure that your SIM is turned on and registered.
Accessible Across Networks

Quality One of the biggest advantages of the check code is that it is compatible with all mobile networks. The code works well regardless of whether you have a prepaid or postpaid SIM. This renders it a global device among the user base of service providers.
No Internet Required

Performing a SIM registration check with the help of the check code does not imply the use of an internet connection. You can also check your number inside or outside your home, any time, and do that through your phone.
Free of Charge

The simulation registration check code service is totally free. There are no fees that mobile users need to pay to get the verification. This renders it a cost and time-effective choice to all persons, independent of their service plan.
Real-Time Updates

The check code will give you real-time information about your registration of a SIM. The changes or updates are updated immediately. This saves the user of the phone the hassle that they would have had by the phone constantly giving wrong information concerning numbers.
Limitations of SIM Registration Check Code
As much as SIM registration check codes are very convenient and fast, they have limitations. Of course having this awareness should guarantee that you will not be surprised when you check your Smart SIM status.
Network-Specific
The code used to check the registration of SIMs can be different across mobile network operators. One network may not accept a code that is used in another network. The user must make sure that they are running the appropriate code based on their service provider.
USSD Downtime
In some cases, the USSD program, whereby one verifies SIM registration, may go out of service. As part of maintenance or network problems, the code does not work in the short term. When using a system, users may be required to wait until the system is fully operational.
Limited Information
Only some basic information on SIM registration is given by the check code. Sensitive information or personal information might not be available under this technique. More detailed information, perhaps, requires users to call their mobile operator.
No Cross-Network Verification
The SIM registration check codes are usually restricted to one network. Therefore, users cannot authenticate numbers in other providers with the code. This may be frustrating to multiple SIM users across networks.
User Errors
Errors may occur by dialing the wrong code or typing in the wrong information. One has to use directions to obtain precise results. Even easy errors may cause a failure at the verification algorithms and might need a series of tries.

Conclusion
In short, it has become more necessary than ever to monitor your registration of SIMs. In the meantime, nearly all prominent Mobile Services Networks operate through USSD Codes to assist their customers in checking SIM Registration Status. Unlike other SIM Registration Checking Means, USSD Codes are quick and never require an internet connection. On the sidelines, bookmark our website and push the notification icon to receive an alert whenever we publish a new article or blog related to the Smart SIM Registration.